


Kettlebell Training – Schools of Thought
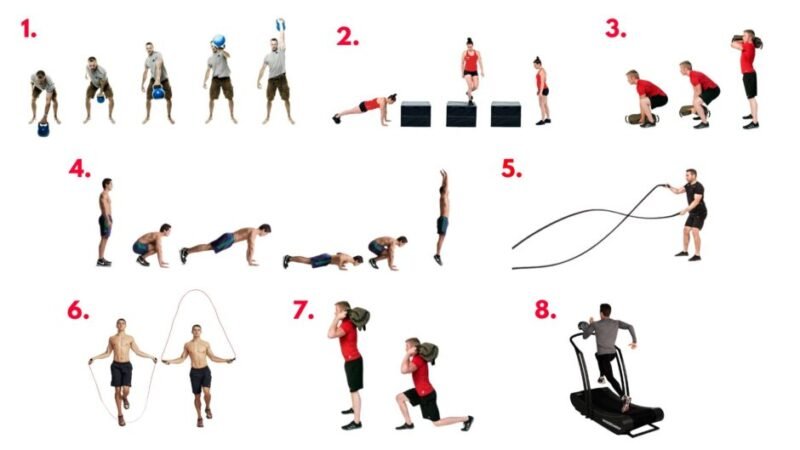
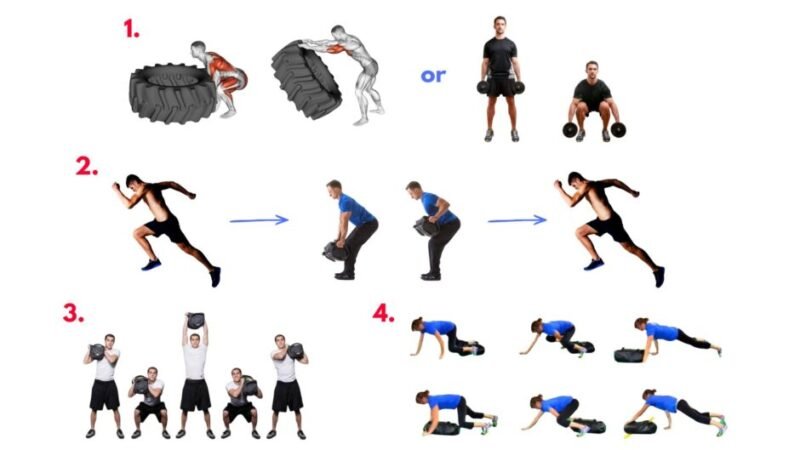
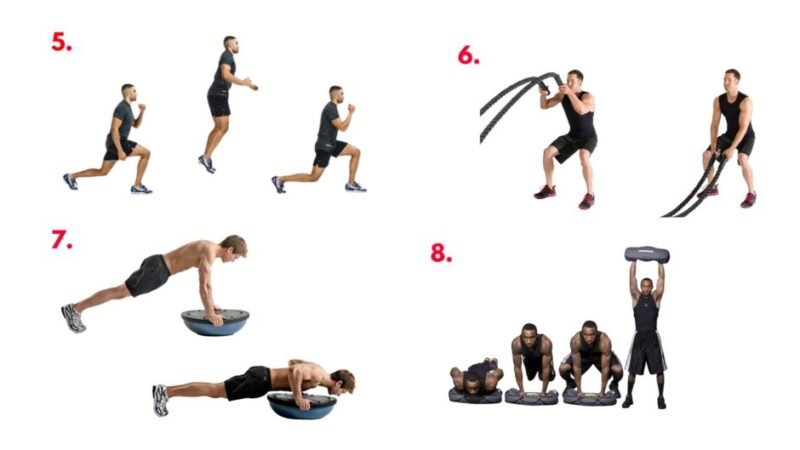
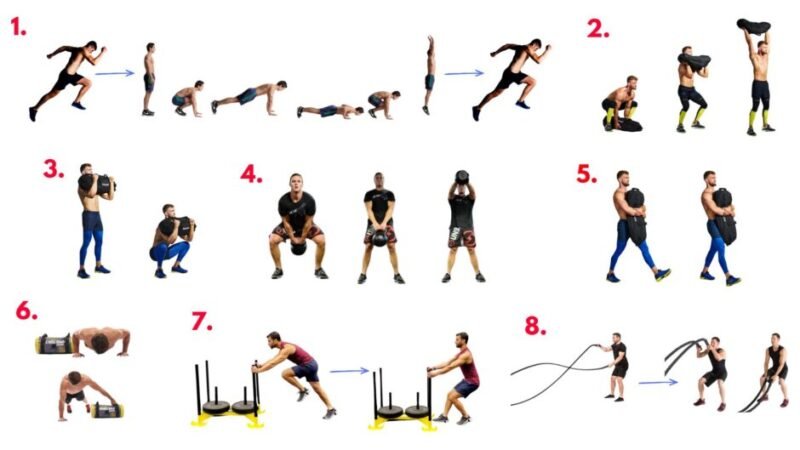
One tool, five philosophies. Discover how kettlebell training evolved into distinct schools of thought —


One tool, five philosophies. Discover how kettlebell training evolved into distinct schools of thought —